Why Does Your Rotary Hammer Bit Wander in Concrete — and How Do You Stop It?
Last updated: October 9, 2026 · Reading time: 9 min · Written by the ETpower engineering team (Taizhou XuLi Machinery Co., Ltd.)
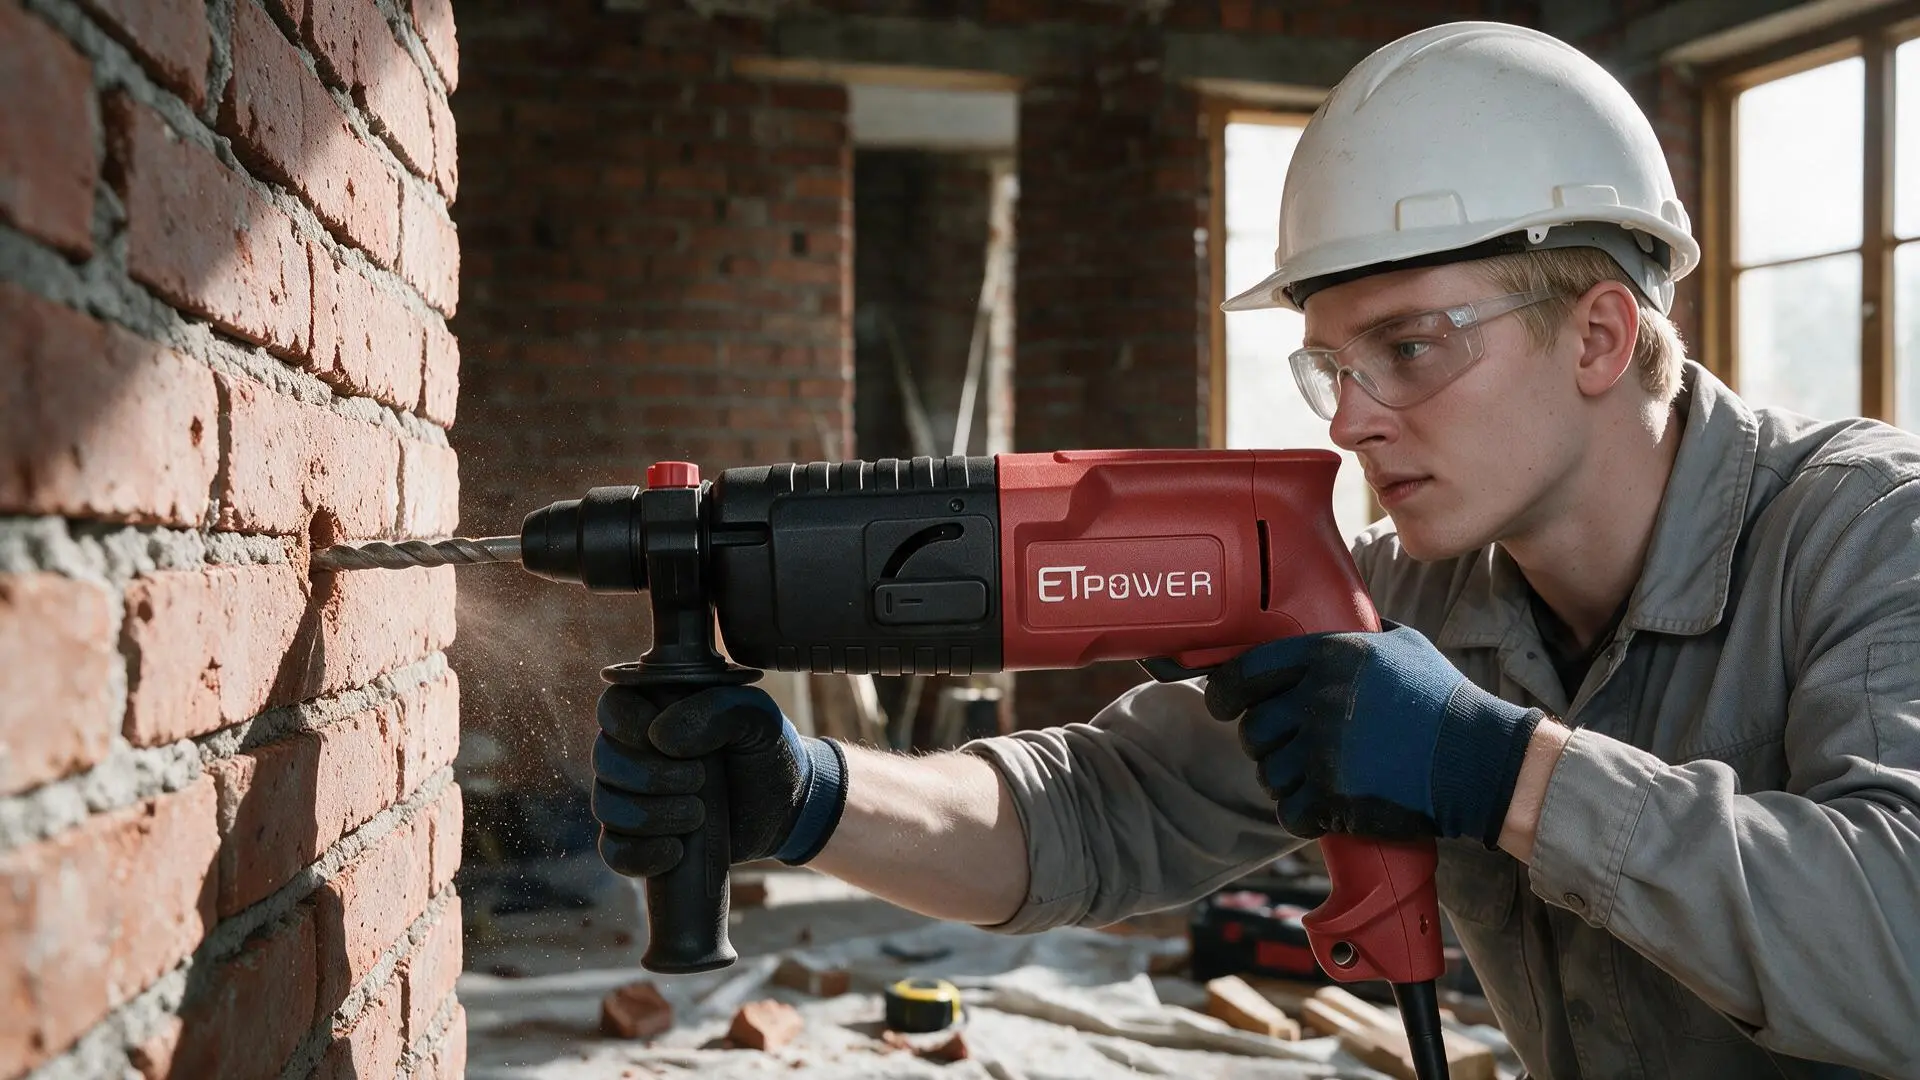
Every tradesman has had the moment: the hole comes out the back of the wall two centimetres from where it went in, or the anchor sits at an angle, or the core bit opens an oval that the sleeve will not seal. The drill did not fail. The bit wandered.
At the ETpower factory in Taizhou we test SDS-Plus Rotary Hammers every day in 30MPa concrete, and we see the same operator-side causes again and again. This guide is about those causes and the practical fixes. It applies whether you are using a 20mm light fixings machine or a 28mm heavy-duty tool.
Quick answer (TL;DR)
- Start square. Mark a crosshair, set the tool perpendicular, and use rotation-only mode for the first 5–10mm until the carbide tip bites.
- Use the shortest bit that reaches. Extra length is extra flex; a 310mm bit in a 150mm wall is asking for drift.
- Replace worn or chipped bits. A blunt or asymmetric carbide tip does not cut — it skids.
- Do not push. Let the hammer mechanism do the work; body weight overloads the bit and bends the path.
- Scan for rebar before you drill. Hitting steel is the fastest way to lose your line; relocate rather than fight it.
- For through-holes, drill from both faces. Meeting in the middle keeps the exit within millimetres even if the bit drifts.
1. What "wandering" looks like on site
There are four different failures, and they point to different causes:
- Entry drift: the bit walks sideways as soon as it touches the wall and the hole starts off-centre.
- Curved path: the hole enters straight but comes out at an angle, or a depth gauge binds part-way down.
- Oval hole: the bit has wobbled in the cut, usually because the tip is damaged or the SDS chuck is loose.
- Exit miss: a through-hole does not line up with the mark on the far face — sometimes by a few centimetres.
Each of these can be traced back to one or more of the seven causes in the next section. Fixing the symptom without fixing the cause means the next hole will wander too.
2. Seven reasons bits wander
| What you notice | Most likely cause | Immediate fix |
| Bit skates at the start, hole is off-centre | Uneven or spalled surface; starting in hammer mode before the tip bites | Mark a crosshair; start in rotation-only mode for the first 5–10mm |
| Hole curves or wanders part-way down | Hard aggregate, rebar, or a long bit flexing under load | Use a shorter bit; reduce feed pressure; scan and relocate if you hit steel |
| Oval or oversized hole | Worn or chipped carbide; loose SDS chuck; bent shank | Replace the bit; check chuck retention and shank condition |
| Through-hole exits off-centre on the far face | Drilling all the way from one side; cumulative drift over depth | Drill half to two-thirds depth, then finish from the far side |
| Bit stalls and the hole goes crooked | Too much feed pressure; operator forcing the tool | Let the tool's weight and the hammer action feed the cut |
| Holes wander in the same wall every time | Concrete has a bias of large aggregate or the layout is against the pour direction | Step-drill: pilot small, then open to size; reduce speed in hard bands |
| Fresh bit still wanders | Tool is out of plumb; operator stance is off-balance; SDS holder is worn | Rest the tool against the body; check SDS slots for play; service if needed |
The single most important line in that table is the first one. Most wandering starts in the first five millimetres. Once the bit has bitten a clean cylindrical starter, the rest of the hole tends to follow.
3. The first five millimetres decide everything
Getting the start right removes half the causes of drift before they happen.
- Mark a crosshair, not a dot. A dot lets the tip sit to one side. Two intersecting lines give the tip a centre to find.
- Remove loose surface. Chipped or spalled concrete, paint blisters and old plaster are ramps that push the bit sideways. Scrape them flat with a cold chisel or use a centre punch to dimple the concrete.
- Start in rotation-only mode. On a two- or three-function rotary hammer, begin without hammer action. The carbide cutters scratch a clean circle. Once the tip is seated, switch to rotary-hammer mode.
- Hold the tool perpendicular. Rest the side handle against your hip or thigh so the barrel is square to the wall. If you are reaching overhead, use a short stepladder so you are below the hole, not beside it.
- Do not lean on the trigger. A soft start for the first two seconds lets the bit find the mark before the full impact energy arrives.
The same anchoring principles — straight hole, correct depth, clean walls — are covered step by step in our concrete anchor installation guide.
4. Bit choice: length, diameter and when to replace
The bit is the flexible link between a rigid tool and a hard wall. Its length and condition matter more than the machine's wattage.
| Factor | Rule of thumb | Why it matters |
| Length | Use the shortest bit that gives depth plus 20–30mm clearance | A 310mm bit in a 150mm wall flexes roughly twice as much as a 160mm bit under the same side load |
| Diameter | Step up for holes above 16mm: pilot with a smaller diameter first | A large-diameter bit has more cutting edge and needs more guidance; a pilot hole keeps it on line |
| Carbide condition | Replace when cutting edges are rounded, chipped or asymmetric | Blunt carbide skids instead of cutting, and the hole becomes oval |
| Flutes | Clean flutes after every hole; discard bits with worn shanks | Clogged flutes increase friction and push the bit sideways; a worn shank rattles in the chuck |
| SDS shank | Check for play in the slots; replace if the retention grooves are rounded | Shank play becomes hole wobble at the tip |
How shank systems differ — and when SDS-Plus is the right choice — is covered in our SDS-Plus vs SDS-Max vs Spline bit guide.
5. Rebar and hard aggregate: what to do when the wall fights back
Concrete is not uniform. A hard flint, a quartz band or a piece of rebar can deflect even a sharp bit.
- Scan before you lay out critical holes. A basic rebar detector costs less than one failed structural anchor. Standard rebar cover in walls and slabs is 30–50mm, so holes in that depth band are the most likely to hit steel.
- If you hit steel, stop. Do not grind through rebar with a masonry bit. It blunts the carbide, overheats the tip and leaves an inaccurate hole. More importantly, you may be compromising the structure.
- Relocate at least 30–50mm away. That distance usually clears the bar and still leaves the anchor in the same structural zone. If the position is fixed, get engineer approval before cutting steel.
- For hard aggregate, slow down and reduce pressure. Let the hammer impact fracture the stone rather than forcing the bit through it. High speed with high feed just bends the bit around the hard spot.
- Use a small pilot hole. In very hard concrete, drilling an 8mm pilot first and then opening to 12mm or 16mm gives the final bit a guided path.
6. Through-holes vs anchor holes: two different accuracy problems
The accuracy you need depends on what the hole is for.
| Property | Anchor hole (blind) | Through-hole |
| Typical depth | Equal to anchor embedment, often 40–120mm | Full wall thickness, often 100–300mm |
| Accuracy needed | Straight enough for the anchor to grip and the fixture to sit flat | Straight enough for sleeve, pipe or bolt to pass and seal on both faces |
| Tolerance effect | A 3° drift over 80mm moves the hole base about 4mm off-centre | The same 3° drift over 200mm moves the exit about 10mm off-centre |
| Best method | Start square, use a depth stop, keep the bit short | Drill from both faces, meeting in the middle |
| Common mistake | Overshooting depth, which weakens the anchor and fills the hole with dust | Trying to drill all the way through from one side and blowing out the exit face |
The through-hole method — drilling from both faces — is especially important when you are passing sleeves for electrical conduit or plumbing pipes. Those applications are covered in our electrical conduit installation guide and our guide for plumbers.
7. Depth control, dust and the exit face
Once the bit is running straight, depth and dust become the next quality controls.
- Set a depth stop to the plug, not the hole. A 10mm anchor wants a 10mm-deep hole in clean concrete, not 20mm. Overshooting halves the pull-out strength and doubles the dust.
- Blow out or extract every hole. Dust in the bottom of a blind hole prevents the anchor from seating fully. An extraction cover connected to an M-class vacuum saves time and lungs.
- Mark the bit if you do not have a depth stop. A wrap of electrical tape on the flute gives a visible limit.
- Control breakout on the far face. For through-holes, reduce pressure in the last 20mm, slow the speed, and let the last chips clear. If possible, finish from the far side.
- Wet or dry? Wet coring controls dust but creates slurry that can run across finished surfaces. Dry drilling with extraction is usually better for indoor anchor and fixing work. The safety side of that choice is in our silica dust and vibration safety guide.
8. When the tool is the problem
If a new bit still wanders and your technique is sound, look at the machine.
- Side handle condition: A loose or worn side handle lets the barrel rotate around the bit axis. Tighten it or replace it.
- SDS chuck wear: The ball retainer and guide slots in the chuck wear over time. If the shank rattles before you pull the trigger, the chuck needs service.
- Hammer mechanism: A weak or inconsistent striker makes the bit cut unevenly, which can steer it sideways in hard concrete. Uneven wear on the carbide after one hole is a warning sign.
- Tool weight and class: A 20mm class machine is light and fast for small holes but easier to tilt off-axis. A 26mm class machine such as the ETRH2-26 has more barrel mass and stays plumb more easily in holes above 12mm. For the heaviest through-hole and demolition work, a 28mm class machine such as the ETRH2-28 adds the mass and impact energy that keep long bits on line.
Regular service intervals are covered in our carbon brush and grease maintenance guide.
9. FAQ
Why does my SDS-Plus bit wander when drilling concrete?
The most common causes are starting on an uneven or spalled surface, using a long or worn bit, hitting hard aggregate or rebar, applying too much feed pressure, and a loose or worn SDS chuck. Each cause has a matching fix: start with rotation only, use the shortest bit that reaches, replace chipped or rounded carbide tips, let the hammer mechanism do the work, and check chuck wear.
How do you drill a straight hole through a concrete wall?
Mark both faces, start perpendicular to the surface with rotation only until the tip bites, switch to rotary-hammer mode, drill half to two-thirds depth from the first side, then locate the centre from the far side and finish from there. Drilling from both sides keeps the exit within a few millimetres even if the bit drifts slightly.
Can you drill through rebar with a rotary hammer?
You should not drill through rebar unless the design and a structural engineer approve it. Rebar is there for a reason. If you hit steel, stop, relocate the hole at least 30–50mm away, or scan the wall with a rebar detector before drilling. Drilling rebar with a masonry bit blunts the carbide and leaves an oval, inaccurate hole.
Does a shorter drill bit really drill straighter?
Yes. A long bit acts like a flexible lever; any side load at the tip is magnified along its length. As a rule, use the shortest bit that gives you the depth you need plus clearance. For 100mm-thick concrete a 160mm bit is usually enough; a 310mm bit in the same wall is far more likely to wander.
What is the difference between an anchor hole and a through-hole?
An anchor hole is a blind hole of a known depth that must stay straight enough for a plug or anchor to grip. A through-hole passes right through the wall and must be straight enough to line up on both faces. Through-holes are harder because any drift doubles by the exit face, so drilling from both sides is the safest method.
10. Conclusion
Straight holes are not about buying the most powerful rotary hammer. They are about starting the bit square, using the right length and condition of bit, feeding the cut instead of forcing it, and knowing when the concrete or the rebar is telling you to move.
Most wandering disappears when the first five millimetres are drilled correctly. The rest is maintenance: replace worn carbide, keep the chuck tight, and use the shortest bit that reaches. For through-holes, drill from both faces and accept that the wall, not your will, decides the path if you fight it.
Need a machine that stays plumb in hard concrete? Tell us about your typical hole size and wall thickness and we will recommend the right class and bit setup, or browse the 26mm and 28mm sub-categories and the full ETpower rotary hammer range.
Get a Bit-and-Tool Recommendation →
This article is maintained by the ETpower engineering team. Last reviewed on 9 October 2026. Structural drilling, cutting of reinforcing steel and penetration sizes are subject to the design and the regulations in force at your site — confirm them with the responsible engineer and your local code before cutting.